In the past, I wrote a series of articles called "Create a Doodle". The drawings I did in that article were amateur and more cartoony. Since then my art has developed a lot so I decided to give it another go at writing an article about how to draw! I can show you how to draw the profile of a girl, it's my favorite thing to draw!
WARNING: Drawing takes time and patience. If you become frustrated during the process of art I give you permission to scream and throw something at the wall. I do NOT give you permission to do the following to your sketchbook: no ripping, shredding, scribbling, burning, hucking, launching, cooking, or feeding your sketchbook to a hungry, homeless, beached whale.
Got that all settled? Okay? Good, let's draw!
*For the rough sketch of the drawing use a regular No. 2 pencil*
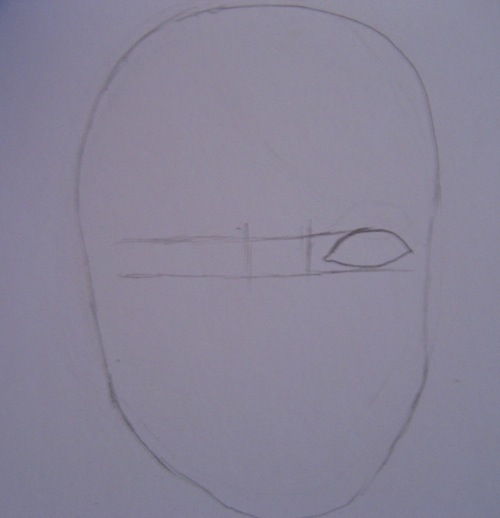
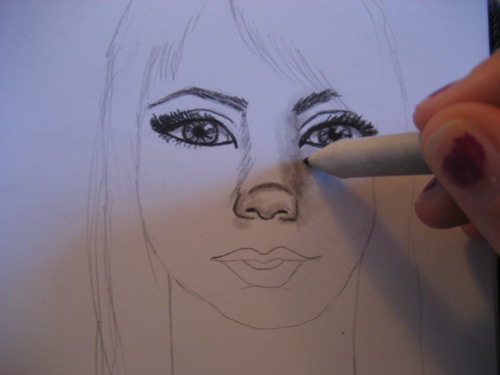
- Draw a head shape. It may take a few tries to get a decent shape and you might edit it as you go. The head shape shouldn't be a perfect circle or oval, there should be indents where the jaw line should be.
- Draw an almond shape for the eyes, be sure to include a tear duct. Most times it's hard making the eyes equal so draw a line from the top and bottom of the first eye and continue the line across the face. It should give you a boundary line drawing the second eye.
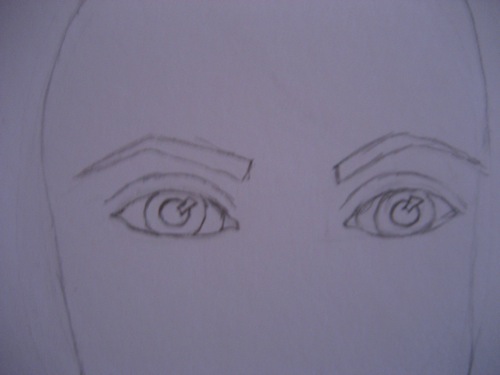
- Draw a line over the eye to show the crease. Define the tear duct in the corner of the eye. Draw a large circle that takes up most of the eye then draw a smaller circle inside. Inside the smaller circle, draw a square which can also come into the larger circle This will give the effect of light. Do the same for both eyes.
- Draw a boxy shape for the eyebrows, the shape should thin out as it gets to the outside corner.
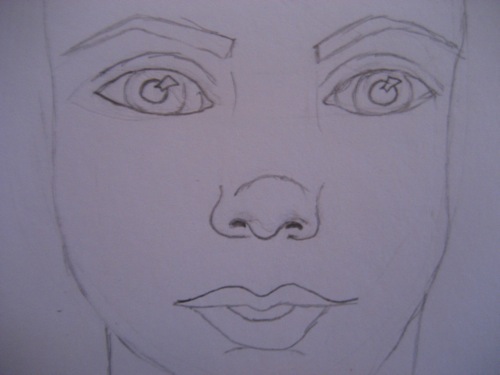
- The nose can be tricky. Try base it as much as you can on the nose in the picture below. It should be in the middle of the face almost perfectly between the eyes and the chin.
- The lips should be about an inch below the nose. To start the mouth, draw a really rounded/stretched out "m" shape. The bottom lip can be drawn however you want. Below the lip, touching it, draw a rounded line to define the chin.
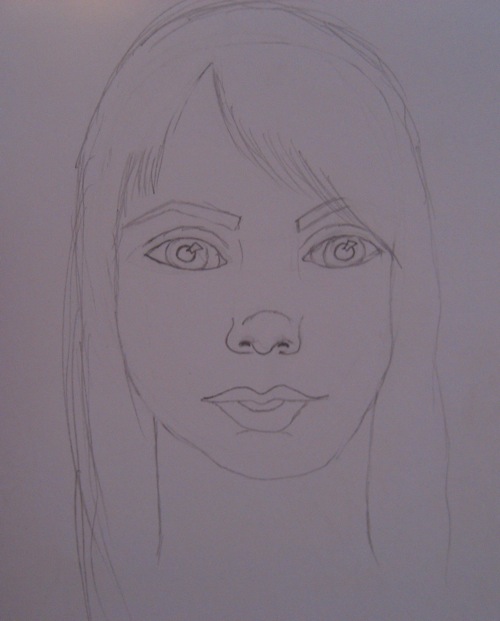
- The neck should be in line with the outside corners of the eye.
- Draw the outline of the hair, make sure it has enough hair on top.
Now comes time for my favorite part although it's the hardest: shading. For shading make sure to use a pencil with thick, dark, lead. The best pencil that can be used for this is the 8B.
- For the eyes, darkly trace the big circle then lightly color it in. Now color the smaller circle until it's pitch black. Make sure to not color in the square, leave that white. For the inside of the bigger circle, draw darker lines going around it for spokes. On the white of the eye shade a bit on top with a smudger. This gives the effect of your eyelashes giving it a shadow.
- For the eye lashes, make check mark-like shapes across the top of the eye. For the bottom eyelashes place them at random. If you want to add makeup to the eye you can do that.
- Shade in the eyebrow shape then draw darker lines for hair.
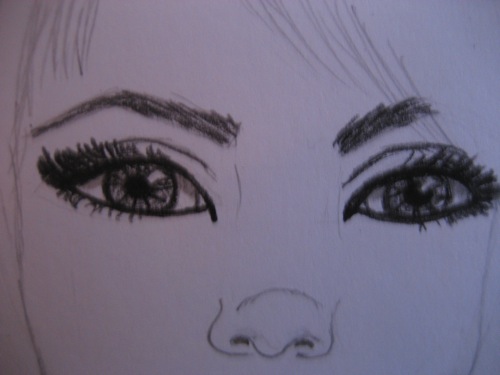
- To shade the nose, lightly shade on both sides of the nose with pencil. After that use a smudger to blend it in. If you don't have a smudger you can use your fingers.
- On the left cheek, do the same thing as what you did with the nose. Shade lightly with pencil then blend it out with the smudger.
- Below the nose make a shaded triangle between the two nostrils.
- Below the lip shade in the line you made earlier.
- For the lips just darken them and use your eraser to add highlight effects.
- Shade the neck the same way you shaded the nose and the face.
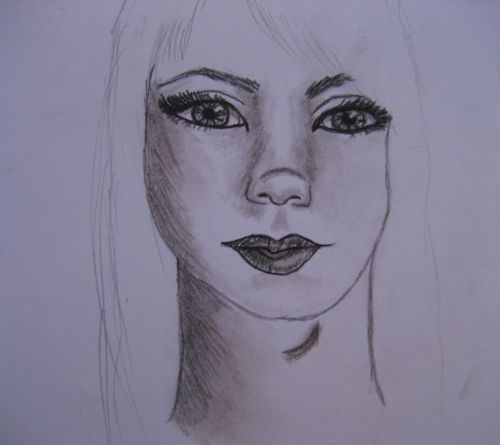
-For the hair, shade it all in then use the smudger to smooth it out. Draw darker continuous lines to show hair. Continuously use the smudger and do the same repetitive process of shading, smudging, drawing lines, smudging. Continue to do this until you're satisfied with the hair. To get the effect highlights run your eraser over the hair a few times.
Then VOILA! It is complete!

I hope you found this article helpful (seeing as it IS in the Help section) and I hope you're going to try the techniques I showed you!
And remember . . .
ABSOLUTELY NO FEEDING YOUR SKETCHBOOK TO HOMELESS HUNGRY BEACHED WHALES!
-ocean10kv
