
Do you ever get to thinking, "Man, I wish I was at Disney World", or "What I wouldn't give to be in Candyland", or even still "If I could be in the mouth of an alligator right now, I'd be the happiest person alive!" Well despairing (or, if you were the alligator person, weird) citizen, fret no longer because I can help you fulfill your deepest desires!
"You mean you can take me to Disney World?!"
No. However, with the right tools, I can help you learn how to edit yourself into a picture of it.
With my new help guide, I'm going to teach you some little tricks of editing and graphic design. Throughout the series, I'll be using a program called "PhotoFiltre". If you don't have it, it's free to download, albeit it does not come with as many features as it's pricier counterpart, "PhotoFiltre Studio", but works fine for everyday use. *Do not download anything without your parent's permission.*
Today I'll be demonstrating an incredibly basic technique that people have lately been asking me about: transferring one part of an image onto another. If you can color inside the lines then you can most likely follow along. In this tutorial I'll be editing my Whyville avatar into a picture of apples, but you can use any two pictures you'd like.
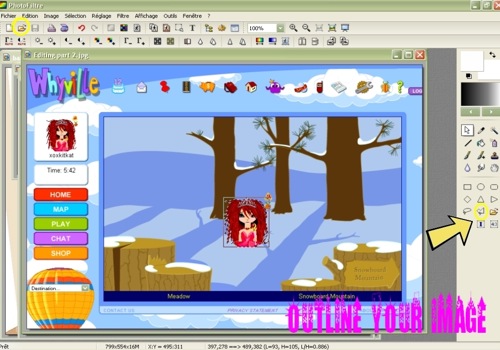
To start off, open a picture by clicking on the folder icon at the top of the page. This can be a picture of you, your Whyville avatar, a giraffe, etc. (If you want to take a picture of your Whyville avatar, press the "PrtScrn" button on your keyboard and then copy and paste it into PhotoFiltre.)
Once you have your picture in place, outline the part of the image that you'd like to transfer with your cursor. To do this, I find it best to use the polygon outline tool (follow the arrow in the image above).
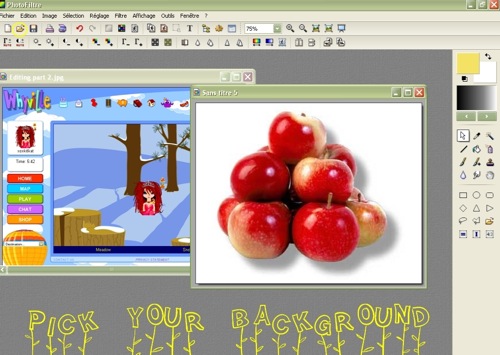
Once you have fully outlined your image, the line should begin to blink. Be careful not to click anywhere else in the picture or your outline will disappear, and you'll have to start over again. Next, open the background picture you would like to transfer your selection onto (Disney World, Candyland, Alligator, etc.) by selecting an image from the folder icon at the top of the screen OR by opening a new blank canvas and copying and pasting an image you've found off of Google or various other sites. I'll be using a picture of apples.
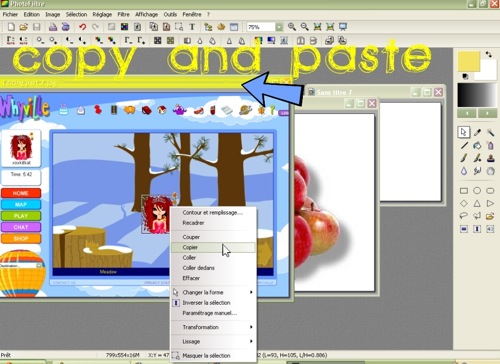
Once you have opened your second picture, return to your outlined image by clicking on its bar at the top (I have highlighted and pointed out where you should click with the blue arrow). If you click elsewhere, the outline WILL be lost, and you'll need to start over again.
Now, time to break the clicking rules, right click INSIDE of your outlined selection and select "copy" from the drop-down menu. In the picture, my program is in French, but yours should say "copy" in English.
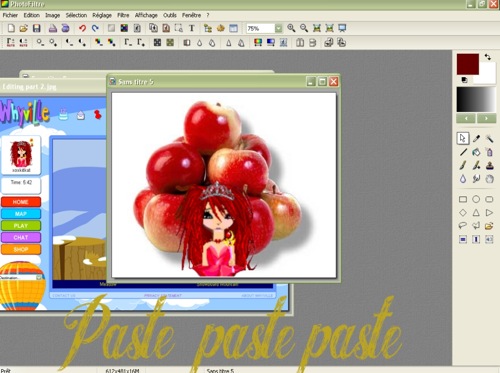
Now, return to the second image that you have readily opened. Right-click again and select "paste" from the drop-down menu. Your previous image selection will pop up, and you are free to drag it wherever you'd like.
Once you have found a place you'd like to set it, right-click the selection again and select "Validate Paste" from the menu.
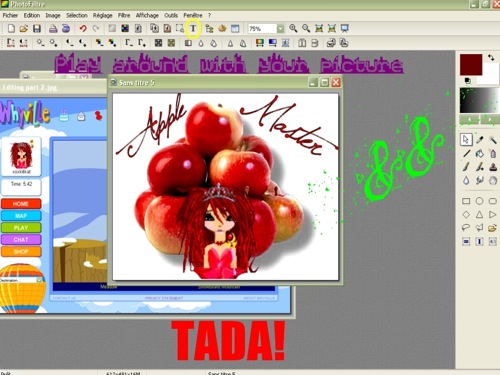
If you're a bit more familiar with the program or you'd just like to explore, then you can play around with your picture using the various tools provided. If you'd like to add text, you can do so by clicking the "T" button at the top of the screen.
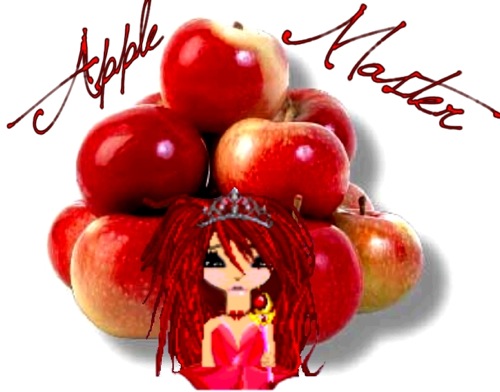
Here's my finished image. I hope this tutorial was helpful and that your picture looks amazing! If you have any questions or need clarifications you can ask in the BBS or send me a y-mail.
-Xoxkitkat
