Summer is finally in full-bloom and if you're like me you can't get enough watermelon. It's not only a delicious fruit, but quite the inspiration when it comes to nail art. Everywhere I look, I see people with Fimo Fruit slices or other decals on their nails. But have you ever wanted to be able to brag you got your watermelon look strictly from hand-painting? Well, today's the day you can!
For this look, you will need:
- Base Coat
- Dark Green Polish
- White Polish
- Black polish
- Dark Red polish
- Top Coat
- Q-tips/Nail Polish remover (optional)
- Thin tip brush
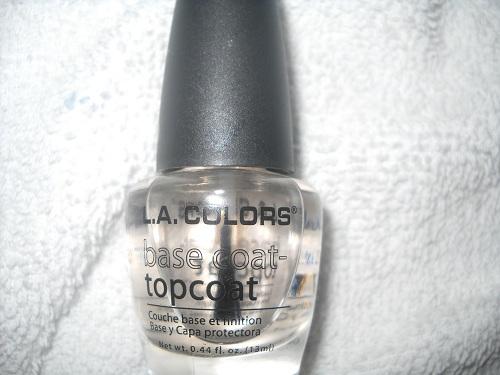
Begin by putting on a base coat. It will protect your natural nail and add extra shine. I'm using L.A. Colors base/top coat.
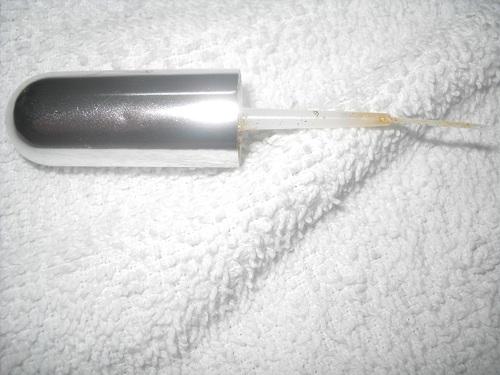
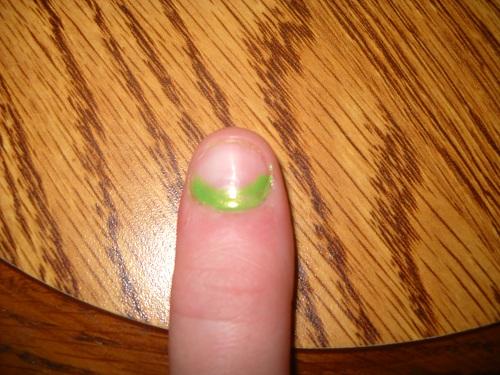
Get a thin-tip brush and your dark green. I'm just using a thin tip brush from an old nail polish bottle. For my dark green I'm using Happy Ending from Sinful Colors. Dip your brush into your green, and blot it against the rim of the bottle or on a towel. Once you have your brush prepared, starting at your cuticle, create a thin line. Create another line about 1/3 down your thumb and fill in all of that green. This is the rind of your watermelon.
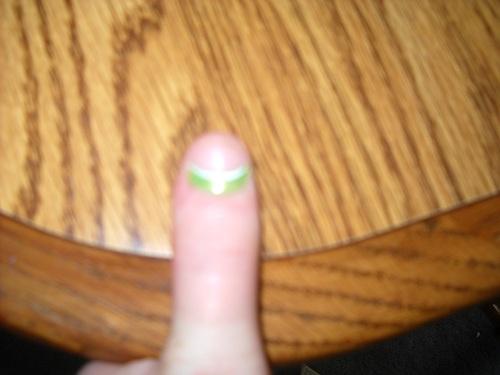
Wash off your brush and prepare it the same way with white polish. I'm using L.A. Colors French Manicure. From the very bottom of where your green starts, draw one thin white line. It should look something like this.
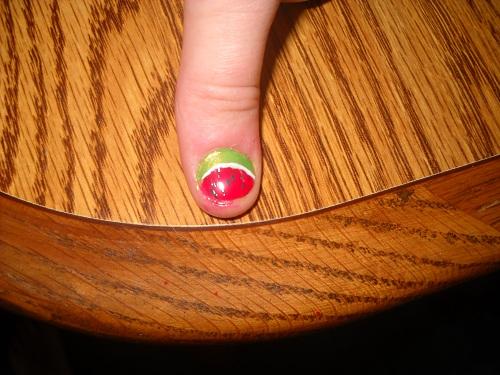
You can now put your white and green polish as well as your brush off to the side. You will need your red polish for this part. I'm using O.P.I. Double Decker Red. Again, blot your brush so that you don't have too much polish. It's always easier to add more, rather than take away. Now you need to paint the rest of your entire nail red. I suggest starting from the bottoms of the white and going down in small "sections". When you are done, you should have a fully painted nail like this:
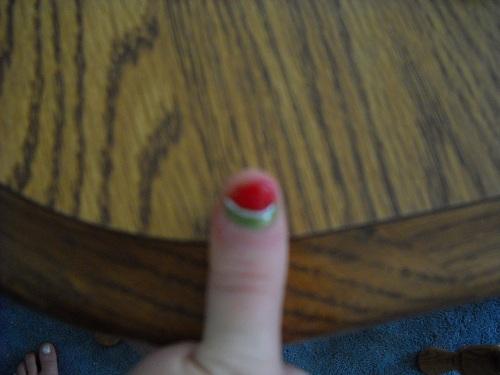
Now, take a dark black and prepare it using your thin brush again. We are going to create little dots to represent the seed. (You can substitute a toothpick for the brush) I'm using L.A. Colors Art Deco nail lacquer. Once you're ready, just lightly dot your nails. To make it look more realistic, gently drag downwards. I don't suggest a pattern, just make it look random.
Finally, seal your nail off with a top coat, and voila! (Make sure to use nail polish remover to get excess polish that fell on your fingers)
I hope you enjoyed this relatively easy nail polish tutorial, and when your friends ask where you got them done you can say, "I did them myself!"
Have a fabulous day!
-Cohenlm
