These mentioned creativity-demanding projects can prove to be quite a challenge. Even more so when you have a specific item to replicate to the smallest nuance possible.
This week's topic was brought on by the fact that I spent the entirety of my weekends making clay models of both the eye and the ear. And, the following tips were picked up by me over a long period of projects, as well as some newfangled ones I discovered just yesterday.
1. Materials
These type of projects can become quite pricey once you add up all the individual costs of supplies. These supplies being simple things like clay, paint, superglue, and etc.
For this reason, you should stock up on art supplies when there is a sale going on at a crafts store or general store. When it comes to projects, I find myself digging through my large box of old supplies to recycle.
It also comes in handy to store up all the supplies you didn't use, or partially used so that you may be able to use them in a future project. The only necessity with this being that you have to store it properly so that it does not dry out.
2.Modeling Clay vs. Play Dough
Something I've unfortunately realized through past experiences is that there is a stark difference between modeling clay and play-doh.
Play-doh is definitely a lot easier to mold and shape then modeling clay. However, this efficiency is replaced by the fact that play-doh will dry up unlike modeling clay. While you might be wondering, isn't it a good thing that the dough hardens, with this hardening follows unaesthetic cracking at every part of the dough. With modeling clay, you are able to avoid those atrocious cracks.
Another factor when picking between the two is that modeling clay is a tad more expensive than play-doh. I still find it a better choice even with the price in order to avoid those sneaky little cracks from appearing. The brand I tend to stick with is Crayola and I get the 4-color pack for the price of $4.00. The great thing about this clay is that you can easily paint over it, so there is no need to find specific colors of clay you want.

3. Paint
There's no need to go out on a crazy search for those obscure colors that your heart desires. This is the very purpose behind mixing the current colors you have at your disposal. Be sure to experiment with your colors, and you'll be surprised with the outcomes.
When it comes to paint, I like to keep all the paint I've collected in one large bag. And for the paints that decided to dry up on me, I mix in a little water and it's as good as new.
A tip I've picked up on regarding paint is that it's where you should have the most variety when it comes to supplies. Better to have a lot of paint rather than to stock up on different types of clay which you could have easily painted over.

4. Labeling
Most teachers will request that you label all the different parts of your project. Rather than drawing a long arrow out from your project, it would be a lot easier and more organized to use inexpensive toothpicks for the very same task.
It's a pretty simple procedure to take a toothpick and wrap a small bit of paper around it and label it with a selected number. Then, you put the corresponding number with the part name towards the side of your project.
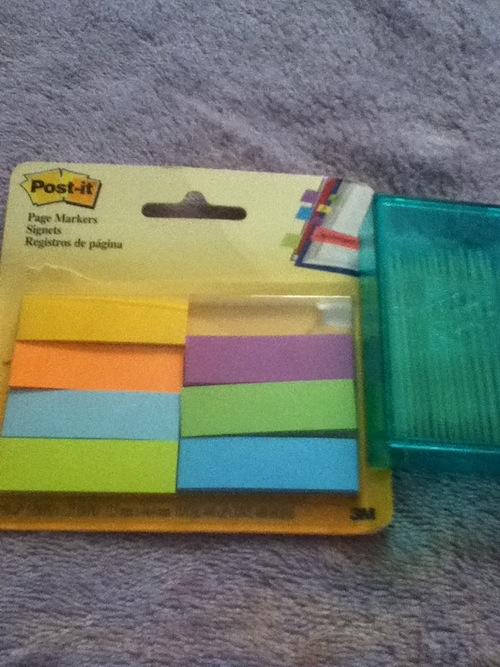
I find cutting out paper into small bits a ridiculously tedious task and instead will buy a pack of page markers during tax-free school shopping.
These are the some of the handful of tips I've picked up on the numerous projects I've been handed. I wish you all luck with prospective projects looming in your future. And below is a picture of the model I spent my weekend on that has yet to be labeled with my procrastinating self.

