Halloween is coming up fast and many people are still deciding on those perfect finishing touches to complete their costumes. Whether you're dressing up as a zombie, a vampire, or a princess with a paper cut, this basic makeup wound tutorial is a fun addition to your Halloween costume that will have it going the extra mile. Best of all, it's easy to create and you or a family member probably have the needed makeup laying around the house.
What You'll Need:
Black or dark brown pencil eyeliner
Red lipstick
Red or clear lip gloss with a brush applicator
Matte brown eyeshadow or dark blush
Small makeup brush
Q-tips
Makeup remover
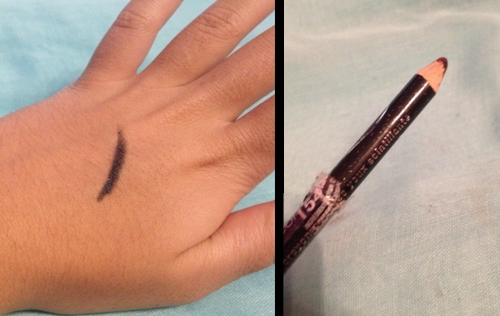
Before you start, be sure to wash off the skin you'll be working on. When the skin is clean, take your eyeliner pencil and draw out what you want your wound to look like. If you make a mistake, take a Q-tip dipped in makeup remover and simply erase what you don't like!
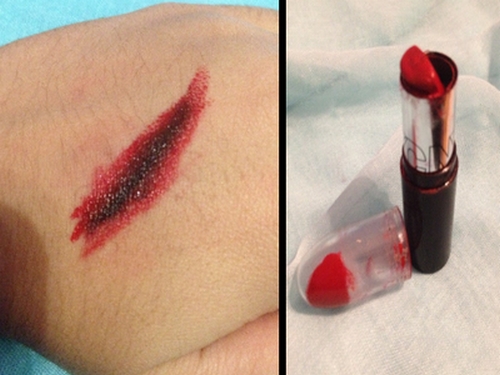
After you've got the outline for your wound, trace over it lightly with a bright red lipstick, trying to keep each end slightly thinner and sharper than the middle. If you can, find an inexpensive, broken, or older lipstick that you won't be using again because this tends to mess up the tip and slightly results in some of the color from the eyeliner mixing with the lipstick. Mine had melted from too much sun in the car, but it worked great for this!
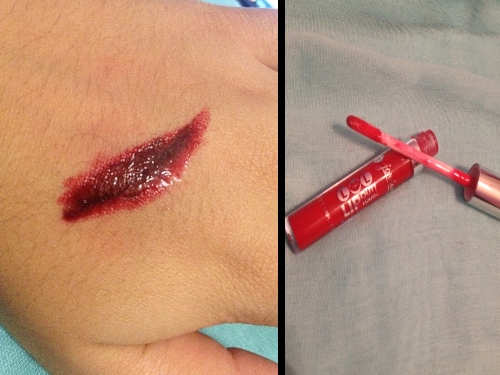
Next, take your lip gloss and apply it sparingly to the wound to give it some texture and add shine. Again, it's best to use an old or inexpensive throwaway lip gloss, as it can get pretty messy.
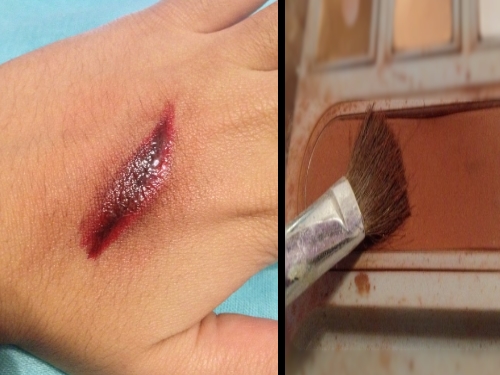
Finally, take a small makeup brush (you'll probably want something smaller than the one pictured as it gave me a little trouble) with either your eyeliner or blush and apply it around the outside of the wound to give it a sore look.
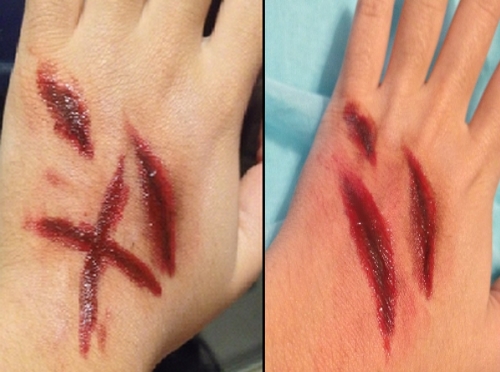
Repeat the steps above to create multiple cuts in whatever pattern you think will give your costume the perfect amount of fright. I tried a couple different things with my hand and didn't end up caring much for either one; I guess I'm not really a scary movie watcher! However, you can play around with it and see what looks good.
Personally, I found this method of creating makeup cuts to be my favorite because of how easy it was to find the materials and the quick and easy 4 step process. I hope you enjoyed learning how to make your "hallowound" (I'm lame, I know). Try it yourself; you'll be blending in at haunted houses before you know it!
Happy Halloween!
Author's Note: Source: http://www.wikihow.com/Make-Fake-Cuts-Using-Makeup
