In my last article, I gave you tips on how to draw face parts that will sell well. This time, I will show you my technique on how to draw hairs. A lot of my hairs have been best-sellers and if you look around, you may even see your friends wearing them! There is no "right way" to draw a hair but I will show you what has worked best for me. Remember to take your time and pay attention to details . . . it makes all the difference!
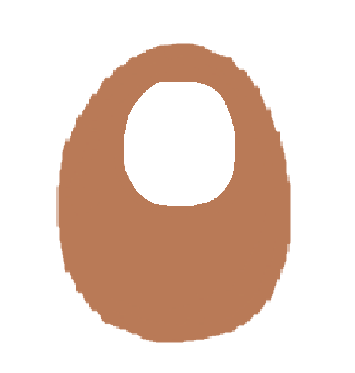
Every hair I make starts out as a big potato with a hole in the middle. This shape should take up most of the area in the largest size face factory voucher. Take this time to make sure the chin area is round, wide and smooth. I use the smallest brush (size 1) to draw the chin area. It?s important to pick a MEDIUM color for this part of the design. You will see why later!

The next step is to define the shape you would like your hair to have. I have found that "normal looking" brown and blonde hairs sell the best. Of course, you are the artist and you can choose whatever color and shape you like! Crazy hairs are awesome too and they make Whyville unique!

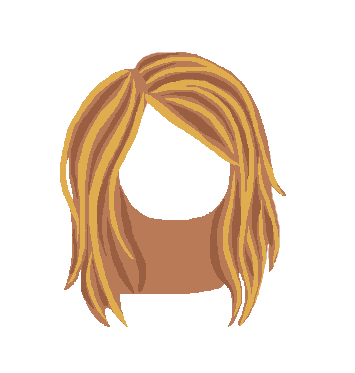
After the shape is achieved, the next goal will be to put in the first highlights of the hair. They should be a few shades lighter than the medium base we already have. I keep most of them long and medium-sized. Try to imagine what the natural flow of a real hair would be. Sometimes it takes me many tries to get the highlights to look the way I want. Keep going and keep correcting them until every stripe is in the right place!

We can't stop there! Once you have the highlights in place, it's time to smooth them out! I use the smallest brush (size 1) to do this. It's pretty tedious but trust me, the results are worth it! This step takes the longest time. Also during this part of the process, take the time to go around the edges of the hair and smooth those out as well. All tips of the highlights and of the hair should be pointed. Keep going until it looks perfect!
Our next step is to add the low-lights. These are the darker strands of hair between the highlights we already have. Again, I use the smallest brush to draw these. All of the low-lights should be smoothed out and pointed at the ends.
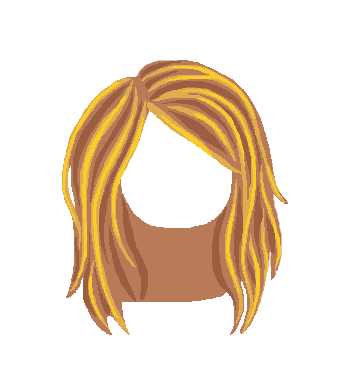
Finally, my favorite part! We are almost finished with our hair but it needs one more thing - SHINE! I love to add shine and sometimes I do go a little overboard! Add as much as you think your hair needs. The shine should always be in the middle of the highlights. It's also important to keep in mind that shine occurs on the top of the hair and on the "bended" parts. Low-lights are okay just the way they are!
That's my technique for drawing hairs! I hope this has helped or inspired you! If you are planning on using this technique, ymail me so I can keep an eye out for your hair in the new arrivals! I love to see other's work! Keep at it, take your time and be patient! Keep trying and you will see improvement!
Author's Note: Hair shown is not for sale in Whyville. I drew it in my computer's Paint program just as an example for you all!
